Ranet UI was developed for WPF and Silverlight frameworks but can also be used in Windows Forms applications. In this post, we will show how to integrate its components in a WinForms application as exemplified by integrating Dynamic Pivot Grid Control using Visual Studio 2015 (you need to have Ranet UI 3.7 installed on your PC).
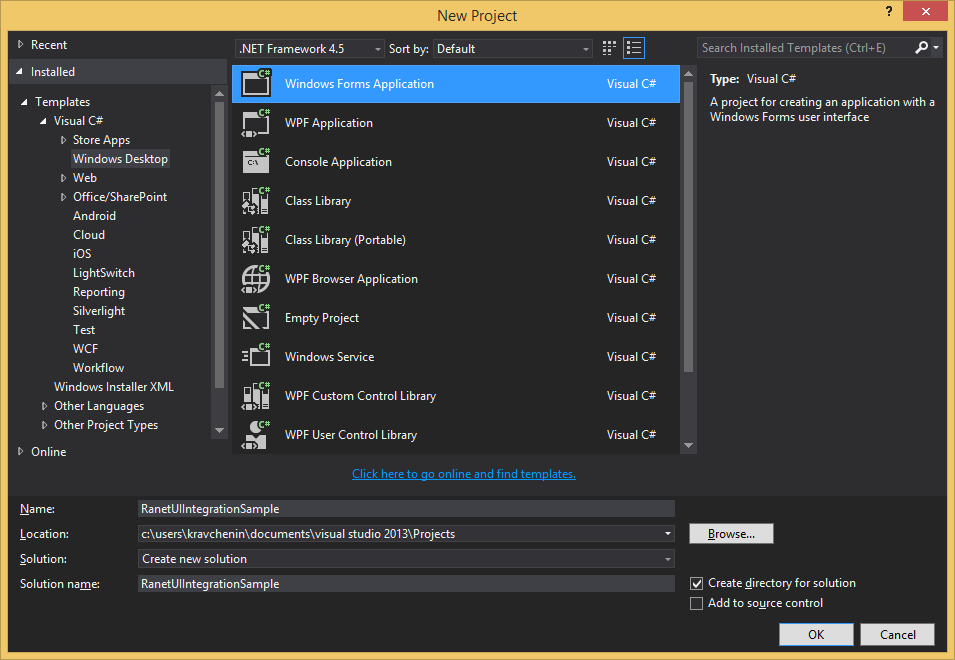
- Start Visual Studio 2015 and create a new WinForms project.

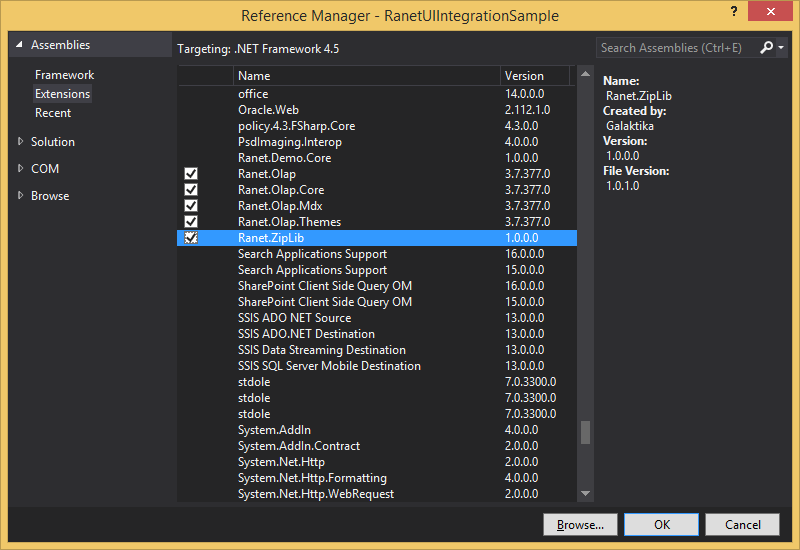
2. Open Reference Manager -> Assemblies -> Extensions, and add references to the following Ranet assemblies in the project (Figure 2):
- Olap.Core.dll
- Olap.dll
- Olap.Mdx.dll
- Olap.Themes.dll

3. In the same window, go to Assemblies -> Framework and add references to the assemblies required by WPF:
- PresentationCore.dll
- PresentationCore.dll
- PresentationFramework.dll
- System.Xaml.dll
- WindowsBase.dll
4. You will need System.Windows.Application instance in order to work with WPF components. Open Program.cs and change the code of Main method as follows, also adding Ranet services initialization:
1 2 3 4 5 6 7 8 9 10 11 12 13 14 15 16 17 18 19 20 21 22 23 24 25 26 27 28 29 30 31 32 33 34 35 36 37 | using System; using System.Windows; using Ranet.AgOlap; using Ranet.AgOlap.Controls.General; using Ranet.AgOlap.Services; using Ranet.AgOlap.Themes; using Ranet.Olap.Core.Interfaces; namespace RanetUIIntegrationSample { static class Program { #region Methods [STAThread] static void Main() { // Create instance of WPF Application var wpfApplication = new Application(); // Configure Ranet services RanetServiceLocator.RegisterServiceFactory<IStorageManager>(() => new ServerStorageManager()); RanetServiceLocator.RegisterServiceFactory<IDataLoader>(() => new ServerDataLoader()); // Enable Ranet components theme RanetThemeManager.CurrentTheme = RanetThemes.MetroLight; System.Windows.Forms.Application.EnableVisualStyles(); System.Windows.Forms.Application.SetCompatibleTextRenderingDefault(false); // Run main form System.Windows.Forms.Application.Run(new MainForm()); } #endregion } } |
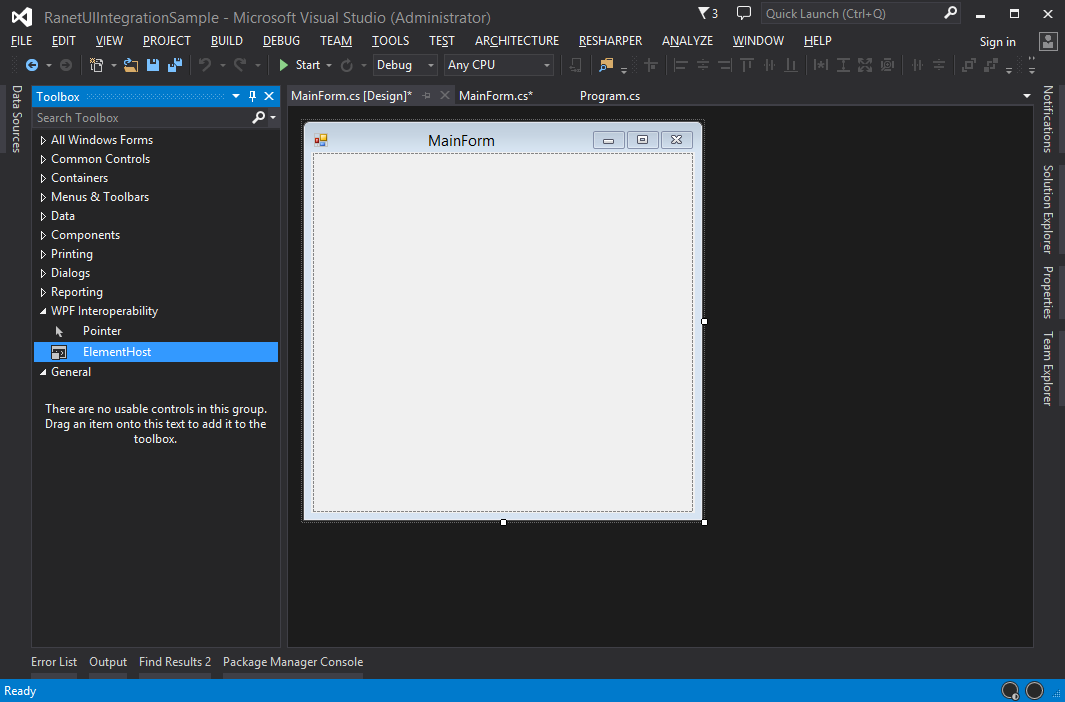
5. Open Toolbox, select ElementHost component from WPF Interoperability category and drag it to the form (Figure 3).

6. Open the form’s code and add DynamicPivotGridControl initialization:
1 2 3 4 5 6 7 8 9 10 11 12 13 14 15 16 17 18 19 20 21 22 23 24 25 26 27 28 29 | using System.Windows.Forms; using Ranet.AgOlap.Controls; namespace RanetUIIntegrationSample { public partial class MainForm : Form { #region Ctors public MainForm() { InitializeComponent(); // Create DynamicPivotGrid and initialize with Adventure Works cube var dynamicPivotGridControl = new DynamicPivotGridControl { Connection = "Provider = MSOLAP.4; Data Source = https://bi.galaktika-soft.com/olap/2012/msmdpump.dll;Catalog=AdventureWorksDW2012 MD-EE;", CubeName = "Adventure Works" }; dynamicPivotGridControl.Initialize(); // Add DynamicPivotGrid to form elementHost.Child = dynamicPivotGridControl; } #endregion } } |
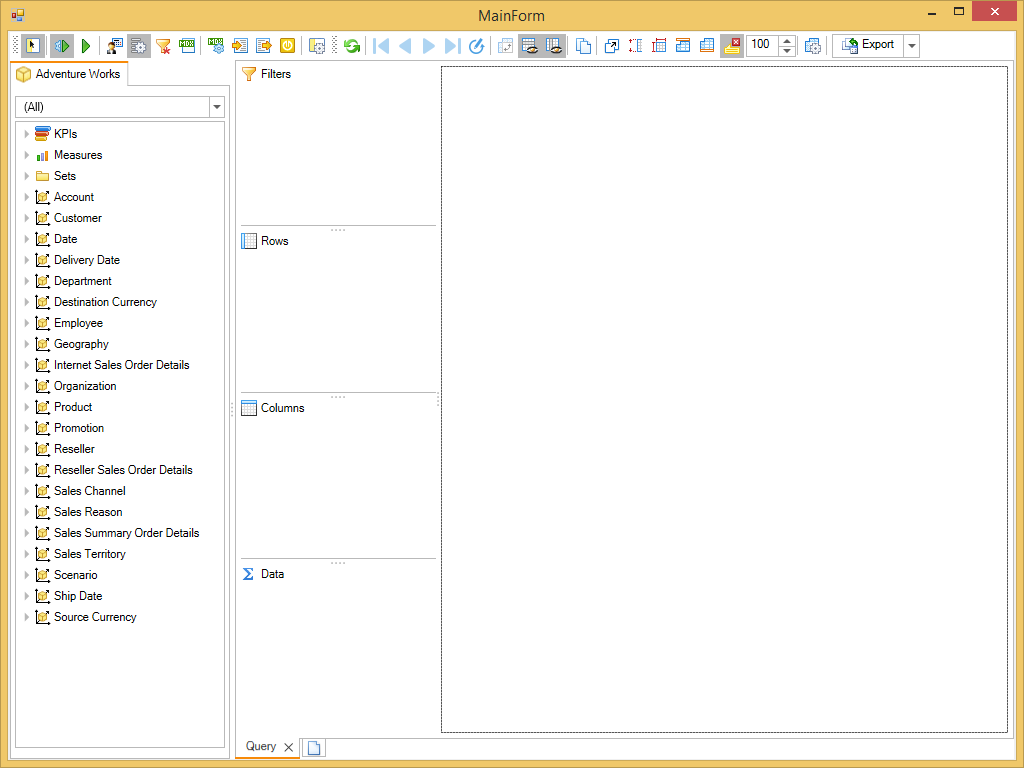
7. Now you can compile and start the application.

We hope this article was helpful for you.
Contact us if you have any questions about integrating Ranet UI library in a WinForms application or any other question about Ranet UI.

