
This article will tell you how to edit data in Ranet OLAP Pivot Grid.
Part 1. Setting up the Writeback partition for the database
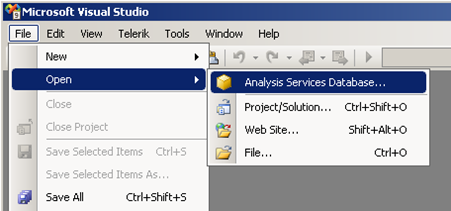
Start SQL Server Business Intelligence Development Studio (BIDS) application from the Windows menu. In order to connect to the Adventure Works database, choose File -> Open -> Analysis Services Database… in the menu.
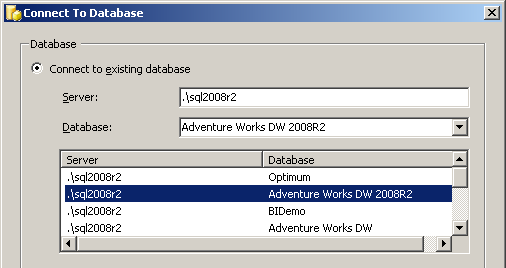
Connect to Adventure Works database (Adventure Works DW 2008R2 in the example) and create a project.
Open Solution Explorer tree and select Cubes folder. Open the folder and double-click Adventure Works cube to select it.
Then create a Writeback partition for the cube. Switch to the Partitions tab and select a measure group, for example, SalesTargets.
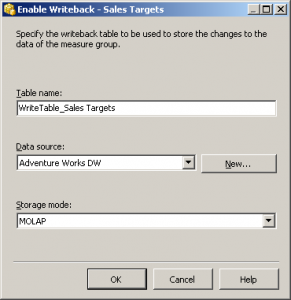
Run command Writeback Settings… for the selected measure group from the local menu,

and create table WriteTable_Sales_Targets.
Save the changes and recalculate the cube by running Process command for the cube in the project tree.
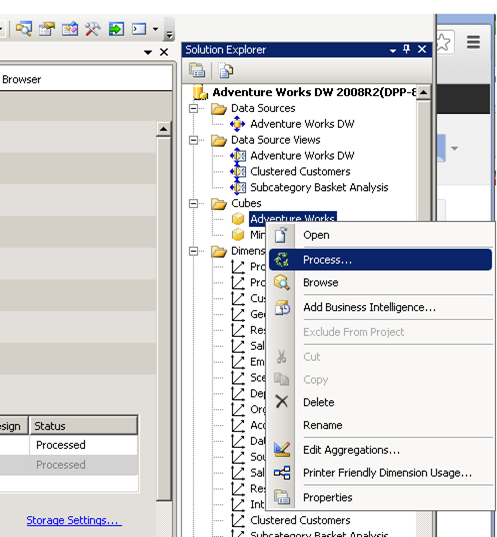
Table WriteTable_Sales_Targets will be created in the database as a result of the recalculation. This table will hold the changes of the cube data made in the Writeback mode.

Thus we have set up the Writeback partition for demo database Adventure Works.
Part 2. Setting up the MDX query and the update script
Let's continue the example of setting up and using Ranet OLAP pivot grid in the Writeback mode.
Launch Sample Web Application from the Windows menu.
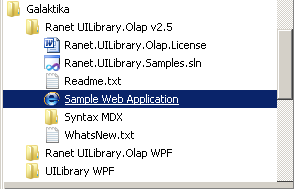
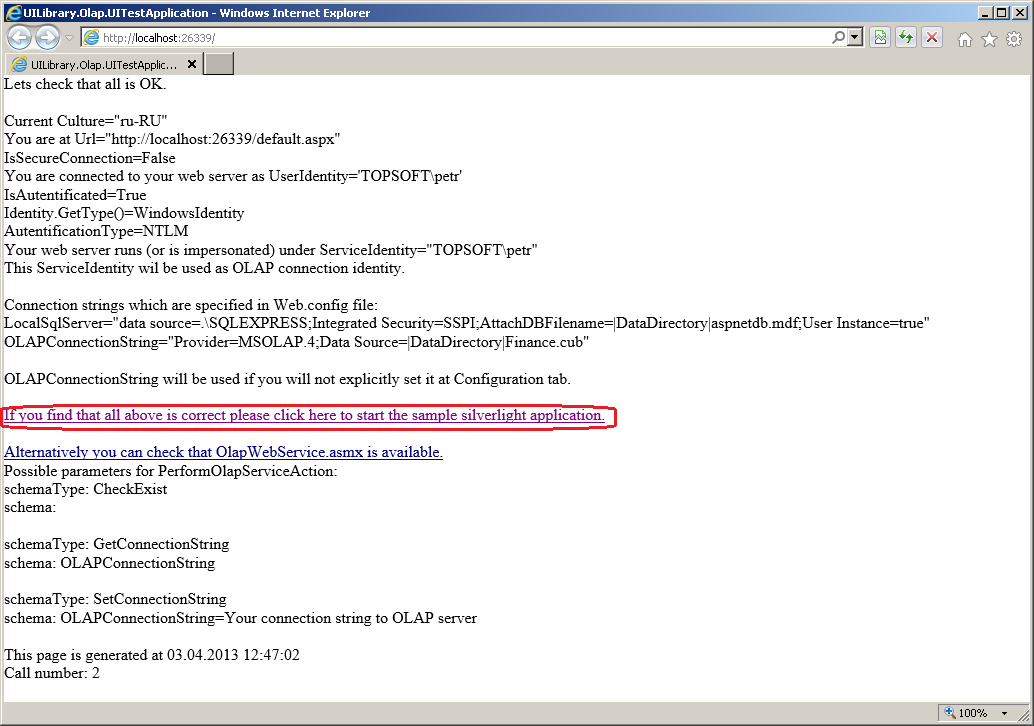
After the page has loaded, start Sample Silverlight Application by clicking the respective link.
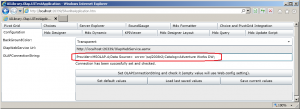
After the application start, configure connection string to the demo database. Write the following in the OLAPConnectionString field:
- Database server (and its Instance, if necessary)
- Catalog
Check the settings by clicking Set OLAPConnectionString and check it button. If the check is successful, save the settings by clicking Save current values button.
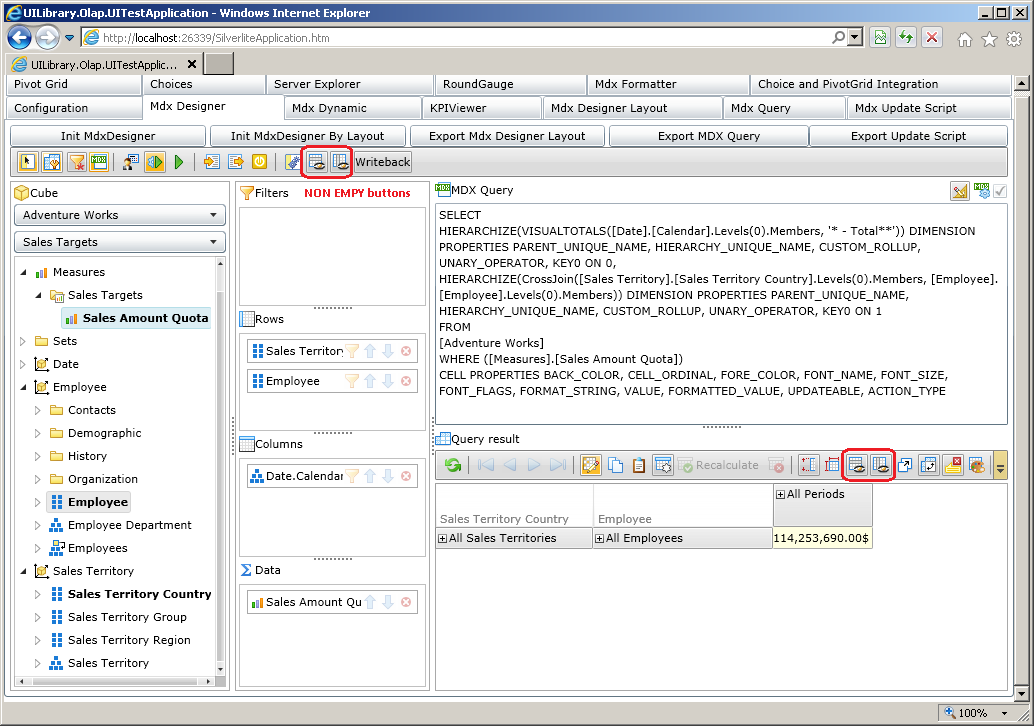
Now run the MDX Designer by clicking on the respective tab. Initialize MDX Designer control and create pivot grid settings for the same measure group as we created in the Writeback partition earlier. In this example, it is the Sales Targets measure group. For example, select Sales Amount Quota measure in the cube metadata tree and drag it to design area Data. Select Sales Territory Country hierarchy and drag it to the Rows area. Put the Employee hierarchy there, too. Then, select Date. Calendar hierarchy and put it in the Columns area. Deactivate NONEMPTY buttons in the toolbar and run the MDX query using Execute MDX Query command.

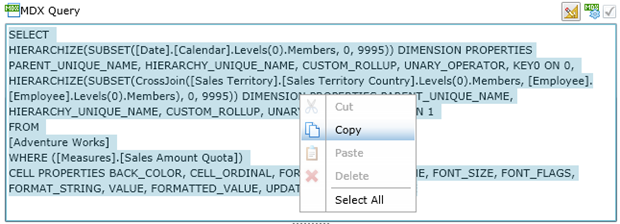
The MDX query is generated automatically in accordance with Ranet OLAP pivot grid design settings. You can see the text of the query in MDX Query area. Later we will use this MDX query in an example demonstrating the operation of the Writeback mode.
The current version of Ranet OLAP does not allow generating Update Script automatically based on the design settings. It has to be configured manually. Due to that, it is not possible to use the pivot grid in the editing mode directly in the MDX Designer. This shortcoming makes the example somewhat complicated, and it restricts the possible use of the components. It will be eliminated in the next coming Ranet OLAP build. We are going to implement functionality similar to What-If Analysis in Microsoft Excel.
Select the text of the MDX query and copy it to the clipboard.
Switch to the MDX Query tab in the demo application and paste the query text from the clipboard into this area.

Now switch to the MDX Update Script tab in the demo application and create a template for the UPDATE CUBE command using MDX language syntax:
1 | UPDATE CUBE [Adventure Works]SET()= <%newValue%> |
%newValue%> is the updated (new) cell value. Use <%oldValue%> if you need to refer to the old cell value in the script.
The update script will refer to the cube hierarchies that are used in the visible part of the pivot grid, in its rows and columns. You need to copy them to the script.
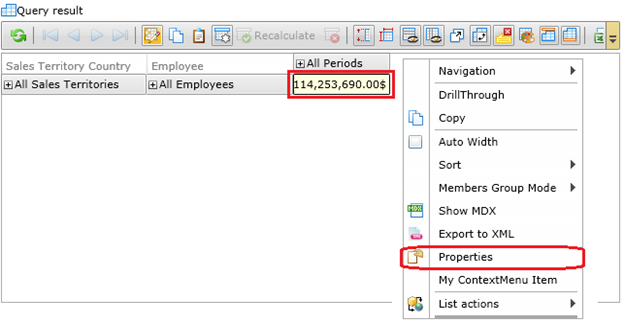
Return to MDX Designer and select Properties in the local menu for the data cell in the pivot table in the Query result area.
Switch to the Tuple tab in the Cell Properties window and copy the contents of the tuple to the clipboard.
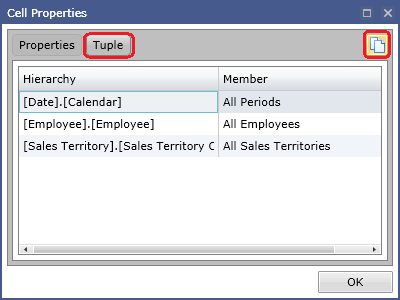
The copied details of the hierarchies comprising the tuple will be used for programming of the update script.
Switch to MDX Update Script tab and paste the copied text to area SET.
1 2 3 4 | UPDATE CUBE [Adventure Works]SET( [Date].[Calendar].[All Periods], [Employee].[Employee].[All Employees], [Sales Territory].[Sales Territory Country].[All Sales Territories] ) = <%newValue%> |
Now modify the text: substitute the value of the hierarchy to which the element belongs, enclosed in <%%>, for the full key of the measure element. For example, substitute <%[Date].[Calendar]%> for [Date].[Calendar].[All Periods], and so on.
After the modification, the update script will look like this:
1 2 3 4 5 6 7 8 | UPDATE CUBE [Adventure Works] SET ( <%[Date].[Calendar]%> ,<%[Employee].[Employee]%> ,<%[Sales Territory].[Sales Territory Country]%> ) = <%newValue%> |
Now we need to add measure [Measures].[Sales Amount Quota] to the template, as it was not present in the Tuple.
The resulting update script will look like this:
1 2 3 4 5 6 7 | UPDATE CUBE [Adventure Works]SET( <%[Date].[Calendar]%> ,<%[Employee].[Employee]%> ,<%[Sales Territory].[Sales Territory Country]%> ,[Measures].[Sales Amount Quota] ) = <%newValue%> |
All settings have been configured. Now we can run Ranet OLAP pivot grid in the editing mode.
Important things to address when programming the update script:
- Consider the amount of data in the measures of the measure group for which Writeback is configured. The UPDATE CUBE command can freeze the SQL Server if the measure contains too many elements and writing rules are not specified in the update script.
- If data filters are used in the MDX query, then the filter values must be specified explicitly in the update script. You can't use filters returning multiple elements. The element must be defined uniquely, or it can be (All).
Part 3. Editing data in Ranet OLAP pivot grid
Switch to Pivot Grid tab in the demo application and click Initialize PivotGrid button to initialize the pivot grid.
To simplify the example, open the folders for tree elements in the rows and columns of the pivot grid to show empty fields in the data input area (so that the input area looks similar to the figure below).
Select a cell (for example, France, A.Scott Wright, H2 CY 2001) and enter data (for example, 1000). If all settings are correct, the pivot grid will look similar to the figure below. Congratulations!
If you get an error when running the command, you need to analyze it. Run SQL Server Profiler and enter the data once again. Then inspect the query execution log.
Now you can test various data editing modes in the pivot grid.
Postpone calculation mode enables or disables the use of cache when editing cells. The changes are accumulated in cache until they are sent to the server using the Save Changes command. Otherwise, the data is saved automatically after each change.
- To cancel the change, click the Rollback Transaction button.
- To save changes on the server, click the Commit Transaction button.
- To copy data from one slice to another, use Copy value command in the local menu.
- To propagate the cell value (for example, to child elements), use Deliver value command in the local menu.
We hope this post will help you use Ranet OLAP pivot grid control effectively.
